How to start a YouTube channel and become a YouTuber: a step-by-step guide

Short answer
You start a YouTube channel from a Google account: click your profile picture, choose to create a channel, enter a name and handle, then add an avatar, banner and description with an email in YouTube Studio. You become a YouTuber by choosing a niche and regularly posting videos and Shorts filmed on a phone with a good microphone. Find first brand collaborations on Blogger Bank, among others.
To start a YouTube channel, all you need is a Google account: sign in to YouTube, click your profile picture, choose the option to create a channel, enter a name and a handle, then add a profile picture, a banner and a description. The technical part takes a few minutes. You only become a YouTuber, though, when you regularly publish videos around one niche that people want to watch to the end.
Below you will find the whole process in order: from the Google account, through channel settings, choosing a topic, your first videos and Shorts, to minimum equipment, a publishing rhythm and your first brand collaborations. Once the channel starts growing, you can collect brand jobs on platforms such as Blogger Bank, where you apply to tasks that fit your channel.
Step 1. Google account or Brand Account
A YouTube channel is always tied to a Google account. You have two options, both described in the official YouTube Help article “Create a YouTube channel”:
- Personal channel — created directly on your Google account. The simplest option if the channel is you and your face.
- Brand Account channel — lets you use a different name on YouTube than your Google account and add other managers. It makes sense when the channel has its own name, such as “Tom’s Garage”, or when you plan to share the work with an editor or a partner later.
If you are unsure and plan a topic channel rather than a strictly personal one, choose a Brand Account. It is easier to give someone access later without sharing your own email password. Also remember that one Brand Account can have only one channel.
Before you start publishing, verify your account with a phone number. By default YouTube lets you upload videos up to fifteen minutes long, and longer ones only after verification — see “Upload videos longer than 15 minutes”.
Step 2. Channel settings: name, handle, avatar, banner and description
You edit all profile elements in YouTube Studio, in the channel customisation section. The official guide is “Manage your YouTube channel’s profile”. What to set up straight away:
Channel name
Short, easy to pronounce and remember. Ideally it hints at the topic or is your name or the nickname you use on other platforms. Avoid digits and underscores that are hard to dictate out loud.
Handle (@handle)
A handle is a unique identifier of the channel, which also forms its address. It is best if it matches your Instagram or TikTok name, so a brand looking for you finds you everywhere under the same name. You can change your handle, but according to YouTube Help only twice within fourteen days, so don’t test several versions at once.
Profile picture
A clear face or a simple logo on a contrasting background. The avatar is usually seen as a tiny circle next to a video title, so small text and details disappear.
Banner
The banner displays differently on phones, computers and TVs. Put the key information — channel name, topic and publishing days — in the middle, in the safe area YouTube shows in the upload preview. Check the current dimensions in the same Help article, as they change from time to time.
Channel description and links
In the first sentences say what the channel is about, who it is for and what a viewer gets by subscribing. Add links to your other profiles and an email address for business enquiries. This is where brands most often find your contact, so don’t leave it for later.
Step 3. Choose a niche before your first video
A niche is the topic and the group of viewers you speak to. A channel “about everything” grows slowly because neither the algorithm nor viewers know who to recommend it to. A good niche meets three conditions:
- you know the topic or enjoy learning it, and a year from now you will still want to talk about it;
- people look for answers, reviews or entertainment in it;
- there are brands around the topic that may want to work with you one day.
Examples of niches where a beginner can start without a big budget: dog care and training (pet creators), car repairs and reviews (automotive), testing gadgets and apps (technology), simple everyday recipes (food) or budget weekend trips (travel). See how other creators present themselves in these categories — it’s a good lesson in describing yourself and your topic.
A simple test: write down twenty video titles you could record. If the list runs out after five, the topic is too narrow or not yours.
Step 4. Your first videos and Shorts
You don’t need a channel trailer or a perfect intro to start. You need a few videos that answer specific questions of your future viewers.
Long-form videos
- An answer to a question. “How to teach a dog to walk on a loose leash”, “What to check before buying a used car”. People type such topics into search, so a video can keep finding viewers for months.
- A review or a test. Something you really use, shown honestly, with pros and cons.
- A series. Several episodes on one theme, such as “Cooking for a whole week on one budget”. A series teaches viewers to come back.
The first seconds of a video should say right away what the viewer will get. Cut long greetings and digressions. We cover titles, descriptions and tags in more detail in YouTube SEO: how to rank videos.
Your first video step by step
- Plan. Write one sentence: which viewer question the video solves. Under it, list three to five things you will show. Don’t write a full script if reading from paper sounds unnatural for you.
- Recording. Record each point separately, several times, and leave a moment of silence at the start and end of each take. Add cutaway shots: hands, product, surroundings.
- Editing. Cut pauses and repetitions and add captions to the key sentences, because many people watch without sound.
- Publishing. Prepare a thumbnail with one clear subject and a few words, a title that matches what is really in the video and a description that expands on the topic. When uploading, YouTube will also ask whether the video is made for kids — answer truthfully; the rules are explained in YouTube Help.
- The first day. Share the video where people interested in the topic gather, and reply to the first comments.
Shorts
Shorts are vertical short videos which, according to YouTube Help, can be up to three minutes long. For a new channel they are the fastest way to get seen at all: Shorts appear in a separate scrolling feed where subscriber count matters less. What works well:
- one tip from a longer video, shown in practice;
- a “before and after” effect;
- a quick answer to a viewer’s comment.
It’s best to combine both formats: Shorts attract new people, and long videos build a relationship with them.
Step 5. Minimum equipment to start
Don’t buy a camera before you have published a few videos. To begin with, this is enough:
- A phone with a clean lens — the rear camera usually records better than the front one.
- A microphone — a simple lavalier or wireless mic. Viewers forgive weaker video, but not bad sound.
- Light — a window in front of you during the day or one lamp with diffused light.
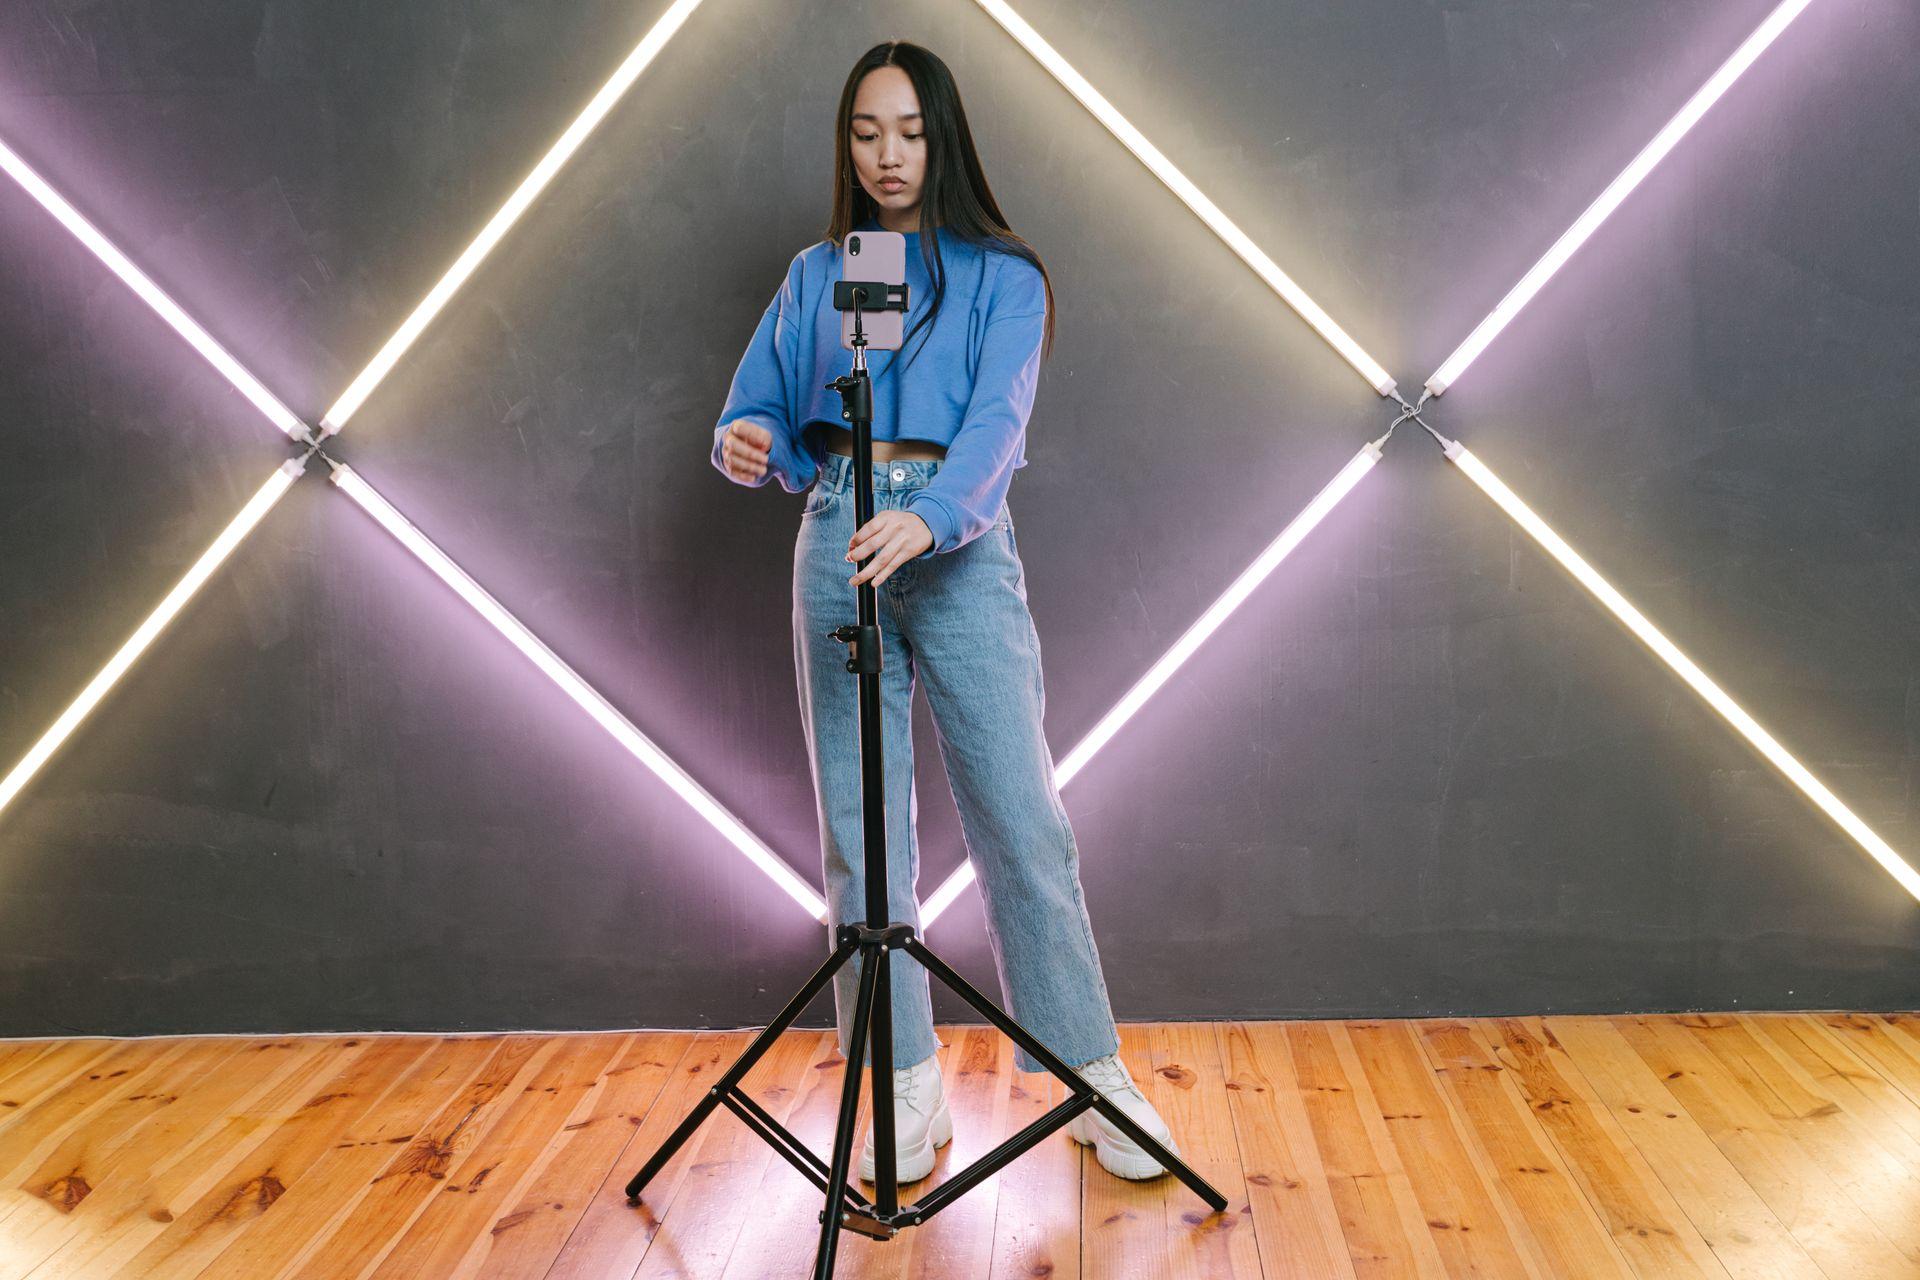
- A tripod — a steady picture immediately looks more professional.
- Editing software — free apps for phone and computer are enough for cuts, captions and music.
Buy more gear when you know what is holding you back. If you film outdoors, get a wind cover for the microphone before a better camera.
Step 6. Consistency and analysis
A channel grows from uploads viewers can predict. Choose a rhythm you can keep for several months, even if it is one video a week plus a few Shorts. A modest plan you keep beats an ambitious one abandoned after a month.
- Batch your recording. One shooting day for several videos saves time setting up gear.
- Keep a list of topics. Write down questions from comments — they are ready ideas for new episodes.
- Check YouTube Studio. See where viewers stop watching and improve that part in the next videos. Also look at which thumbnails and titles get clicks.
- Reply to comments. On a small channel every conversation builds a community brands will value later.
Don’t compare your third video with someone else’s hundredth. At the beginning what matters most is whether each video is a bit better than the previous one.
Step 7. From channel to brand collaborations
Brands don’t look only at subscriber numbers. More and more often they look for creators with small but engaged communities in a specific niche, because such a creator speaks credibly to exactly the audience the company needs. To be ready for the first enquiries:
- prepare a short media kit describing the channel, the audience and sample videos;
- gather in one place your best videos that show how you talk about products;
- always label advertising content as the law and YouTube’s rules require;
- start with brands whose products you genuinely use — viewers will feel the difference.
First collaborations are often barter or short formats, such as Shorts or a mention in a video. We write about building a creator image across several platforms in How to become an influencer.
How to become a YouTuber if the camera makes you nervous
Camera shyness is the most common reason a channel never gets started. You don’t have to show your face right away. Many channels start with formats where the camera looks at hands, a screen or the road: recipes filmed from above, screen recordings of an app test, a dog walk from the leash’s perspective, a drive with a dashboard camera. A voice-over recorded calmly after filming also sounds more confident than speaking live.
If you want to appear on camera, practise with recordings you don’t show anyone. Talk to one specific person rather than to “viewers”, and look into the lens rather than at the preview. After a few recordings your own voice will stop sounding strange, and viewers will appreciate naturalness more than perfection.
Common beginner YouTuber mistakes
- Buying expensive gear before the first video. Money is better spent on a microphone and time.
- Changing topics every few videos. Viewers subscribe to a topic, not to chance.
- Long intros. A viewer who doesn’t know why they are watching leaves.
- No email in the channel description. A brand that can’t find a contact will pick someone else.
- Buying subscribers. Dead accounts ruin your stats and put brands off.
How Blogger Bank solves the problem of finding first collaborations for a new YouTuber
Once the channel is running, the hardest part is reaching brands that look for creators in your niche. On Blogger Bank it works like this:
- Instead of sending dozens of emails to companies that never reply — you browse tasks where brands describe what they need and apply to the ones that fit your channel.
- Instead of arrangements scattered across messengers — all the brand’s expectations are described in the task, and once you are chosen the contract opens automatically.
- Instead of asking “when will the transfer arrive” — the conversation with the brand, material approval and payment are all in one place.
- Instead of waiting for someone to find you — you have a profile in the influencer catalogue, where brands search for creators by niche and city.
Create a creator account and apply to the first task that fits your channel.
Frequently asked questions
How do you start a YouTube channel step by step?
Sign in to YouTube with a Google account, click your profile picture and choose to create a channel. Enter a name and a handle, then in YouTube Studio add a profile picture, a banner, a description with an email address and links to other profiles.
Do you need a Google account to create a YouTube channel?
Yes. Every channel is tied to a Google account. You can create a personal channel directly on your account or a channel on a Brand Account, which lets you use a different name and add other channel managers.
What is a YouTube Brand Account and when should you choose it?
A Brand Account is a Google account that lets you run a channel under a name other than your own and add other managers. Choose it if the channel will have its own name or you plan to work with an editor or partner.
How do you choose a YouTube channel name and handle?
The name should be short, easy to pronounce and linked to your topic or to you. Ideally set the same handle as on Instagram and TikTok. According to YouTube Help, you can change your handle only twice within fourteen days.
What equipment do you need to become a YouTuber?
To start, a phone with a clean lens, a simple lavalier or wireless microphone, good light from a window or one lamp, a tripod and a free editing app are enough. Buy more expensive gear only when you know what holds you back.
Where should you start when filming your first YouTube videos?
Start with videos that answer specific questions from viewers in your niche, reviews of things you use and short series. Add Shorts, which help a new channel reach people who don’t know you yet and bring them to longer videos.
How often should you post on a new YouTube channel?
Choose a rhythm you can keep for several months, for example one longer video a week and a few Shorts. Consistency matters more than volume, because viewers and the algorithm learn when they can expect new videos from you.
When can a new YouTuber start working with brands?
When the channel has a clear niche, several good videos and engaged viewers. Brands often look for small, credible creators. Prepare a media kit, add an email to your channel description and apply to brand tasks, for example on Blogger Bank.