A fashion brand content shoot: planning several outfits in one day
Short answer
Plan a fashion brand content shoot by giving each outfit a product identifier, a shot list and a clear completion check. Arrange the route around access, light and changing facilities. Prepare the wardrobe before travelling, protect essential shots when delays occur, and review photos and clips before packing each outfit away.
How do you plan a content shoot for a fashion brand so that one trip produces material for several outfits? Assign each look a specific product, the shots you need and a clear condition for finishing the shoot. Only then plan the route. An attractive location will not help if you arrive without the right shoes, somewhere to change or enough time to show the garment in motion.
A creator can produce this material for the brand’s channels without posting it on their own profile. On Blogger Bank, you describe the assignment and receive applications from creators. Create a brand account to commission a shoot with a defined set of photos and clips. Prepare a clothing list, the area you will be visiting and the expected deliverables for your description; you agree on the route and organise the day yourselves.
Finalise the scope before packing the collection
Start planning the shoot with the clothes that actually need to appear in upcoming posts. Check their names, colour variants and availability. Do not add another product just because it fits in the bag. Every extra outfit means preparation, changing, shooting and reviewing the material, not simply pressing the shutter.
Distinguish the outfit from the product you are selling. If the blazer is the focus, the trousers and handbag may simply provide context. Mark what needs to be recognisable in the plan and what does not need separate coverage. Otherwise, the team may return with beautiful full-length photographs that show neither the blazer’s fastening nor its cut.
Prepare a short reference sheet for each outfit: the product identifier, a photograph of the items laid out together, the size, accessories, required scenes and intended use of the files. The sheet should also be available offline. A label such as “light outfit” is not precise enough when the luggage contains several similar shirts.
For one-off second-hand garments, a shoot list also needs an availability check: an item may sell before publication. Our guide to second-hand clothing store advertising explains how to separate a lasting store video from a dated delivery review and agree how to update the message after a sale.
The fitting belongs in preparation, not the first scene of the day
Before the trip, check with the person appearing in the shots that the clothes also fit when they sit, walk and raise their arms. If the shoot is meant to show everyday wear, do not plan shots that require constant off-camera adjustments. Change the size or the outfit before everyone arrives on location.
Pack complete outfits together, with labelled accessories. Separately, prepare items for keeping the clothes presentable, such as a lint roller and a fabric-appropriate method of removing creases. Check care labels before ironing. Leave space to separate worn or damp clothes from those still waiting to be photographed.
Also decide who is responsible for the wardrobe. The person holding the camera should not simultaneously be searching for earrings and checking whether you are photographing the correct product variant. A small team can combine roles, but shooting needs to pause deliberately while the outfit is being changed.
Plan the route around constraints, not the number of attractive backdrops
Include the exact meeting point and the route to the shooting spot, not just the name of a neighbourhood. Check where you can leave luggage, use a toilet and change privately. If you are using a venue or a space managed by a host, confirm that a shoot is permitted and that the space is available on your chosen date. Do not base the entire day on the assumption that “we’ll somehow get in”.
Visit your chosen locations at a similar time of day to the planned shoot. Pay attention to the light, pedestrian traffic, construction work and the background behind the person. Also note a backup location where you can show the same product. Moving from a street to an interior should still let you complete the assignment, not merely shelter from the rain.
Schedule the fixed elements first: access to an interior, a particular person’s availability and scenes that depend on the light. Fit outfits that can be photographed more flexibly between them. Avoid returning to the same spot just for a different accessory. Changing the shooting direction or distance can produce different frames without adding another journey.
Every outfit needs a clear “we’ve got it” condition
The shot list defines what you will produce, while the trip plan defines when you can move on. Before the shoot, write down the minimum you need to check before considering an outfit covered. If you need material for a product page, that minimum might include a clear view of the cut, an important detail and the fabric’s behaviour in motion. This is an organisational suggestion, not a universal standard for the number of files.
For a jacket that opens at the front, for example, you could plan a front view of the outfit, a shot of the fastening and a clip of someone reaching into a pocket. A photograph with hands in pockets does not demonstrate how deep they are. Likewise, an impressive turn may show the garment’s volume but not what the front looks like when fastened. Connect every shot to a shopper’s question.
You will find guidance on specifying and accepting photographs in our guide to ordering product photos from creators. If you are collecting short clips for later editing alongside photographs, use the guide to ordering B-roll footage. Do not copy the entire brief into the day’s schedule: refer to scene identifiers and mark them as completed.
A sample plan: what to do when the trip falls behind schedule
Imagine a working shoot for a brand that needs material featuring a blazer, a knitwear set and a coat. This is an editorial example, not a description of a client campaign. The team has an interior with changing space and a nearby section of street available. We are not assuming a specific duration for each outfit: you need to establish that with the creator, allowing for the fitting and filming method.
- The blazer shots are taken indoors: the full outfit, the fastening and the sleeve in motion. Before the outfit changes, the brand representative checks that the correct product is visible and that the required files have been saved.
- At the same base, the team prepares the knitwear set. They photograph it against a different backdrop without moving all the luggage. Any missing blazer detail can still be reshot before the garment is packed away.
- The coat is scheduled for the end of the outdoor portion, if conditions and access to the location allow it. The team heads out with the required outfit, not the whole collection. Items that do not need to be carried stay at the base.
If street access or the weather requires an earlier outdoor session, reverse this order. The list of essential material should stay fixed, not the order of the outfits. The plan is there to support decisions, not to defend a schedule despite changing conditions.
When running late, cut an extra backdrop or pose variation first, not an essential product shot. The brand’s decision-maker should know in advance which scenes are mandatory and which will only be shot if time allows. If the minimum cannot be maintained, identify the gap explicitly and agree on a change of scope. Do not mark an outfit as complete simply because several photographs exist.
Review the material before the garment goes back into its cover
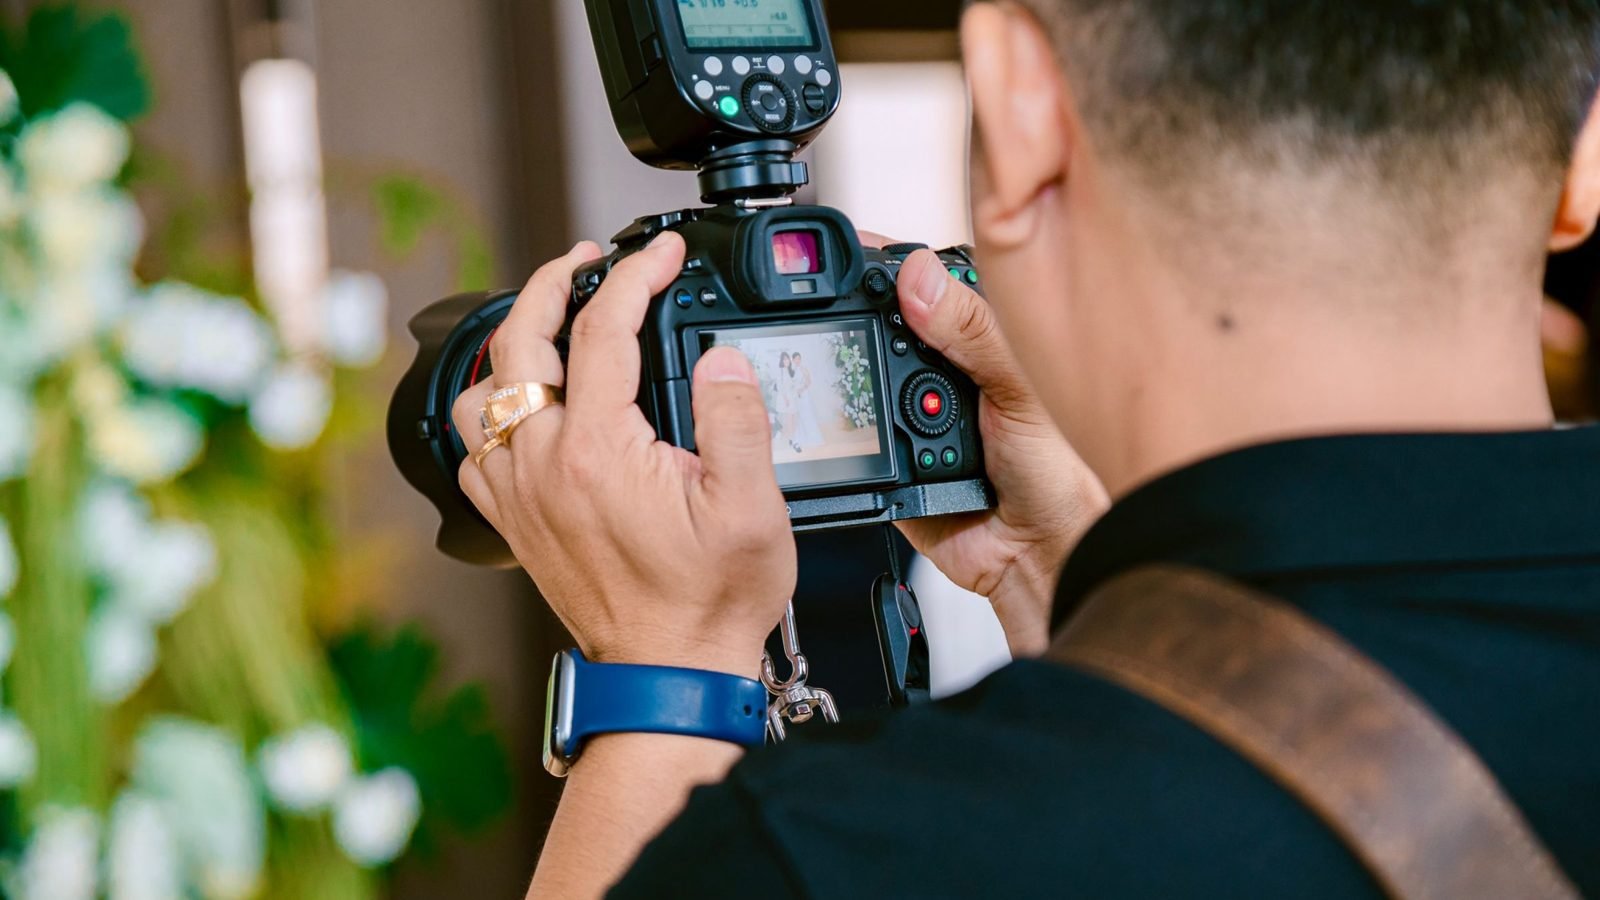
The on-site check answers a different question from final approval: can we now change outfits and leave the location? Open selected photographs at a larger size, play the clips and compare them with the outfit sheet. Thumbnails alone do not confirm sharpness, a complete movement or an unobstructed detail.
Check how the garment sits, product visibility, unwanted items in the background and whether the frame will work in the agreed aspect ratios. If you need both a full-length view and room for text, assess that now. Do not assume an editor can recover cropped-out shoes or part of a sleeve.
Give each outfit a status: to shoot, to correct or checked on site. Add the names or numbers of files that confirm completion. An on-site status is not yet permission to publish or approval of the editing; it prevents you from leaving without the material you need.
Attach a work plan to the assignment, not a promise of “lots of content”
Prepare an assignment for a creator on Blogger Bank and describe the deliverables separately from the trip arrangements. Under deliverables, list the outfits, required photographs and clips, and file delivery method. In the organisational section, include the location, the date to be agreed, changing facilities and who supplies the clothes and accessories. This helps attract a creator who can do this particular job, not simply someone who likes fashion.
When choosing a creator, review complete portfolio series: does the garment remain clearly visible across successive frames, does the creator show details, and can they work outside a studio? Ask whether they appear on camera themselves or need another person. Agree who approves a location change and who can drop optional scenes. The platform helps collect applications and manage communication, but it will not prepare the brand’s wardrobe or contingency plan.
Before confirming the trip, walk through the entire day with the creator, including travel, a break, changing and file checks. If the plan only works on the assumption that none of these stages takes any time, remove part of the scope. Also agree on what you will do if a location becomes unavailable or the weather prevents safe work: change the backdrop, reduce the scope or choose a new date.
After the trip, review outfit sets rather than one combined folder
Ask for the material to be organised by outfit and scene identifiers. Mark which files have been selected for editing, which are finished and which require correction. For missing material, name the specific product and shot. “The coat fastening is missing” gives someone a clear task; “not enough variety” opens a discussion without pointing to a solution.
Keep a note for the next shoot of what actually constrained the day: outfit changes, moving luggage, an unavailable backdrop or decisions made too late. Start preparing with the first outfit sheet and review it with the creator. Only add more outfits to the trip once you know what needs to be shown and how you will confirm completion.
Frequently asked questions
Where should a fashion brand start when planning a content shoot?
Start with the products needed for upcoming publications. Give each outfit an identifier, reference photograph, accessories list and required scenes. Decide what confirms completion before choosing locations or adding more clothes to the trip.
How many outfits can you photograph in one day?
There is no universal number of outfits for a shoot day. Agree the scope with the creator after allowing for fittings, changing, travel and file checks. Remove outfits if the plan leaves no time for those tasks.
What should you check during the fitting before a shoot?
Check whether the clothes fit when the person sits, walks and raises their arms. Replace unsuitable sizes before travelling. Everyday wear scenes should not require constant adjustments outside the frame to make the outfit look right.
How do you choose locations for several outfits?
Choose locations around access, lighting and practical facilities, including private changing space and luggage storage. Confirm permission with the host where necessary. Identify a backup that still lets you show the same product effectively.
What should you cut if the shoot falls behind schedule?
Drop an extra backdrop or optional pose before cutting essential product shots. Agree priorities with the brand’s decision-maker in advance. If the minimum cannot be completed, identify the missing material and explicitly agree a revised scope.
What needs checking before changing to the next outfit?
Enlarge selected photographs, play the clips and compare them with the outfit sheet. Check sharpness, product details, complete movements and agreed aspect ratios. Record supporting file names before marking the outfit as checked on site.
Can a creator produce fashion content without posting it on their profile?
A creator can prepare photographs and clips for the brand’s channels without publishing them on their own profile. Describe the required deliverables in the assignment, and agree the wardrobe, travel arrangements and file delivery separately.
How should material be delivered after a multi-outfit shoot?
Ask for files organised by outfit and scene identifiers, with clear statuses for selected, finished and correction-needed material. Describe missing shots by product and detail rather than giving vague feedback about a lack of variety.